How To Stencil — The Basics
Feeling a little artsy but painting gets overwhelming? We have just the solution for you — stenciling! It is fun, has little risk of messing up, and yields terrific results.
Imagine creating the prettiest handmade cards for Valentine’s day by painting a cute little heart pattern with a stencil … dreamy, right?
But it's not all fun when the paint starts to bleed beneath the stencil edges. You’ll need the perfect technique for the most satisfying results. In that regard, here’s a detailed guide to stenciling, along with all the supplies necessary for it!
Stenciling Supplies
The best part about stenciling is that the materials are pretty economical and almost always reusable. The stencils themselves don’t cost a lot, and with proper care and storage, they can last a long time.
Plus, all stenciling materials are easy to find and usually readily available at most arts and crafts supply stores.

Stencils
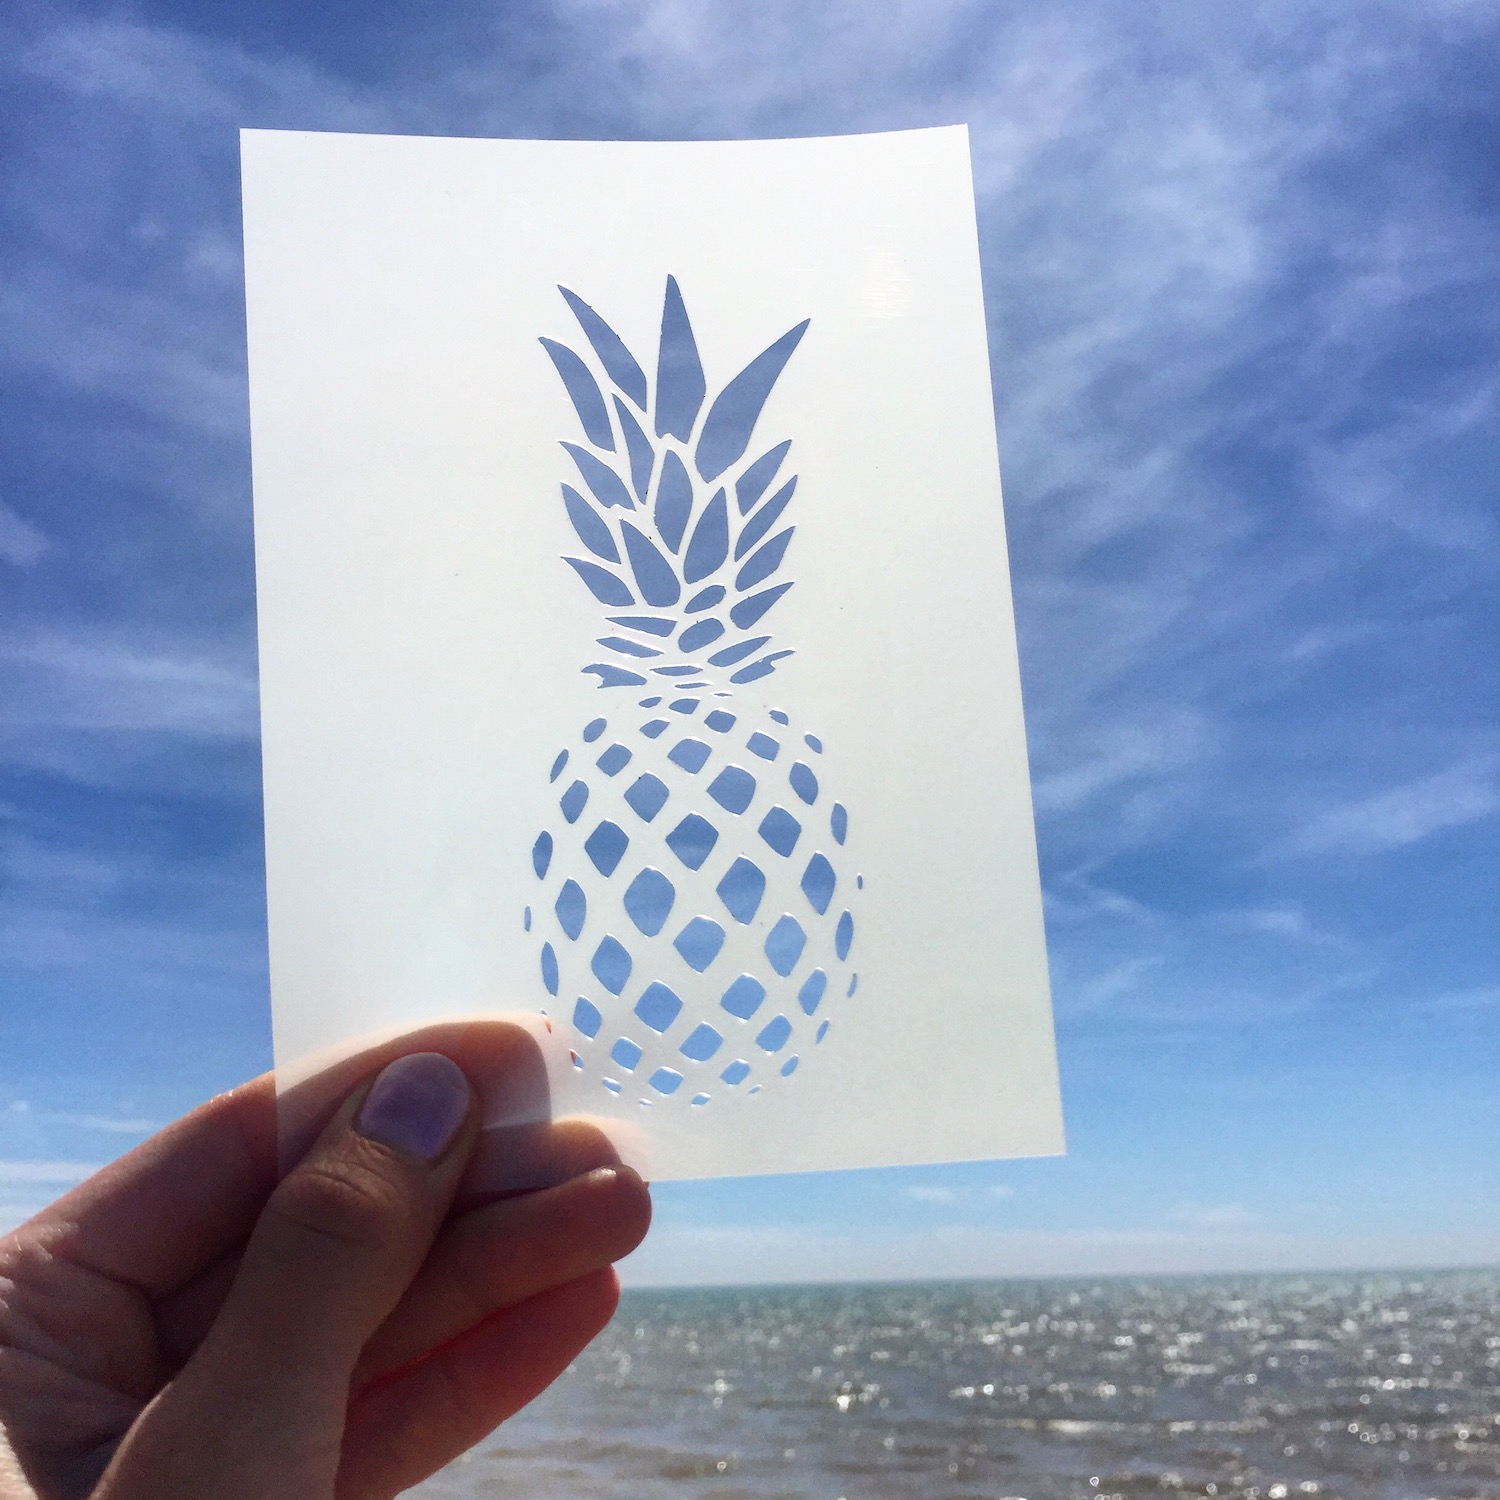
Stencils come in all shapes and sizes. Also, the materials are variable. They come in plastic, paper, or even metal. The plastic and metallic ones are washable and hence, more long-lasting.
Stencil Stabilizers
Movable stencils won’t give a very sharp edge due to the risk of the paint bleeding out of the edges. That is where a suitable stabilizer can help.
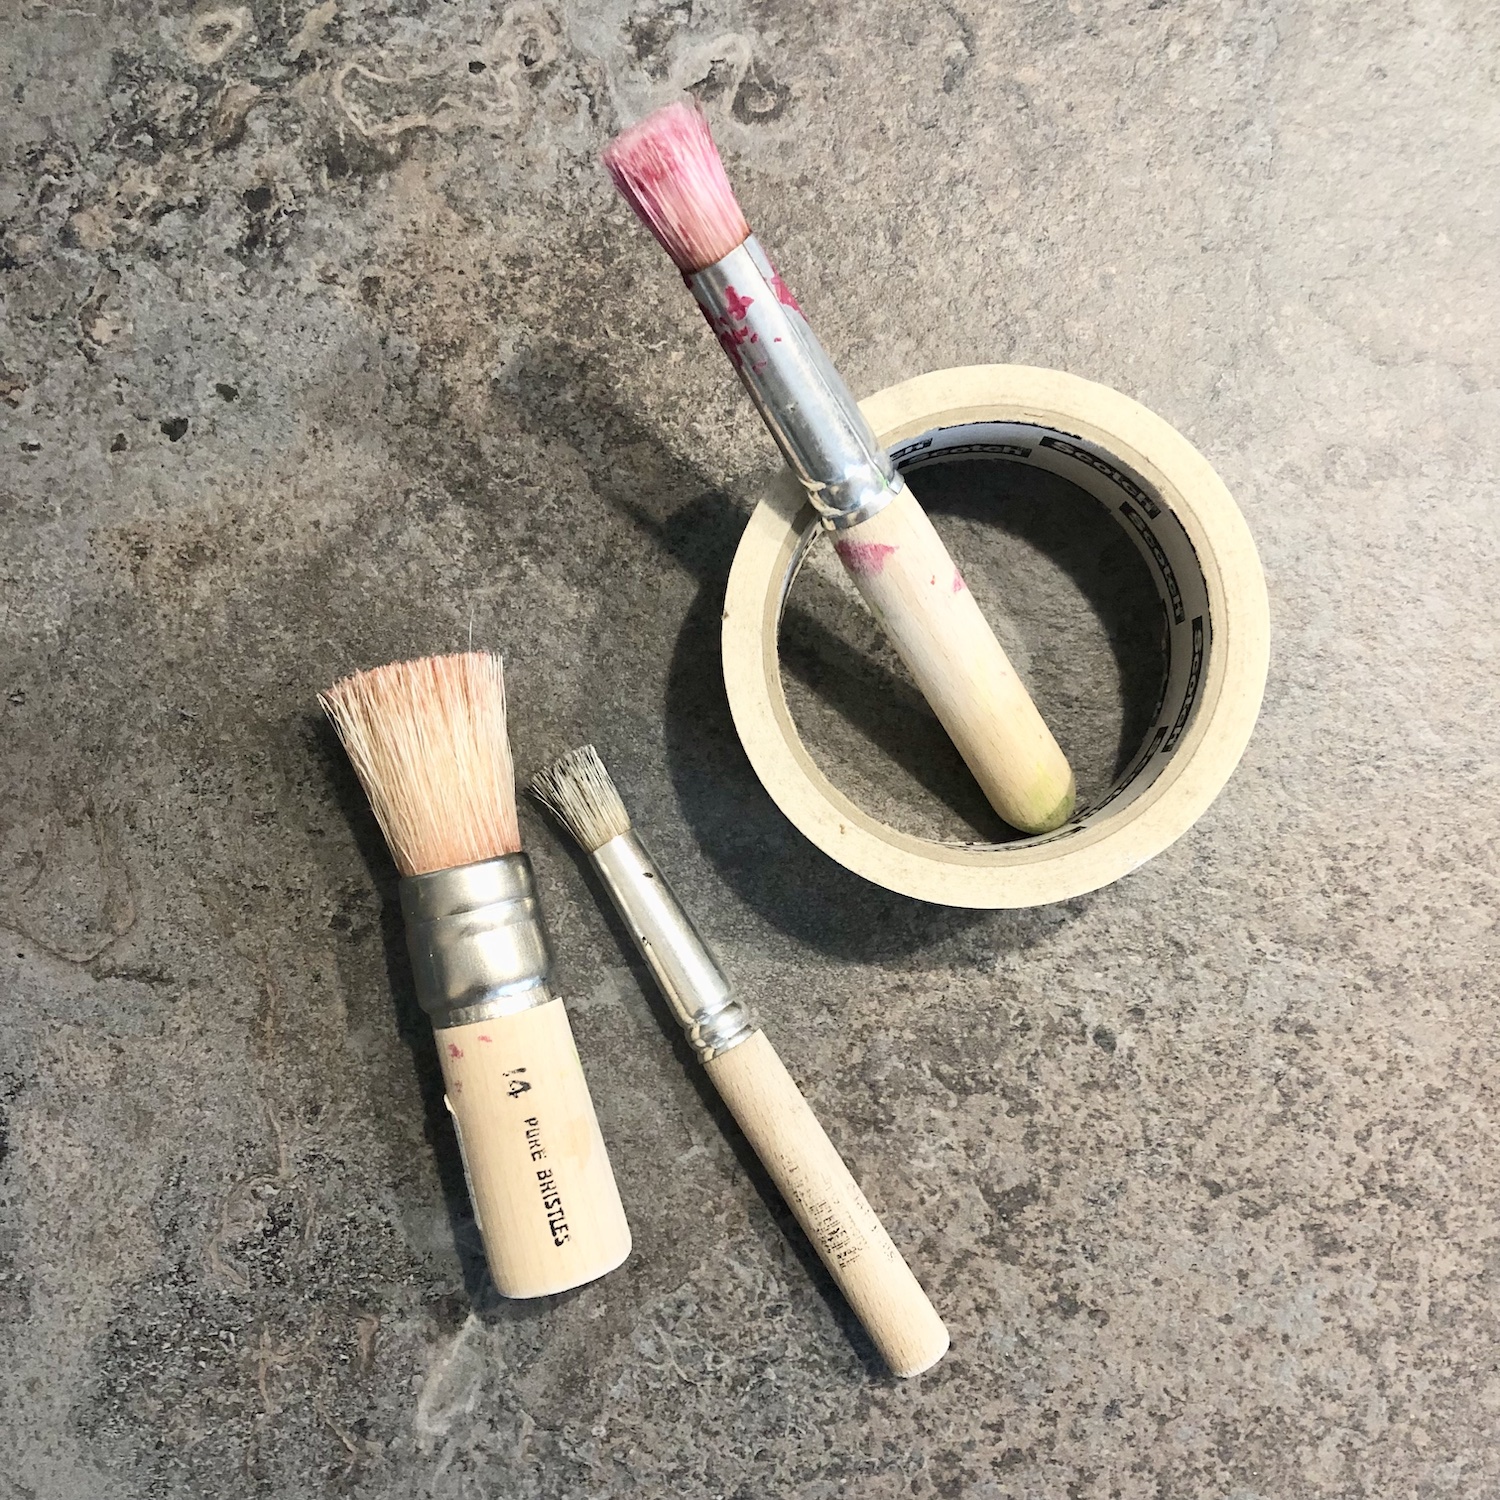
A few stencil tapes are available that are not as sticky as regular tape and keep the stencil in place. Sprayable adhesives are also beneficial for this purpose.
Tip: If stencil tape is not available, use ordinary tape. Take off some of its tacks by sticking it on a piece of cloth a couple of times.
Paints
The choice of paint depends upon the surface it goes over. Watercolors, poster colors, and acrylic paints are suitable for paper or cardboard.
Just remember to keep the consistency considerably thick because thinner paint can sneak out of the stencil borders and give an untidy final look.
Paint Applicator
There are special paint brushes for stenciling available. These stencil brushes have a flat tip that helps dab the paint onto the surface opposed to the conventional lateral brush stroke. Plus, there are many sizes with different brush head diameters.
Moreover, rollers, sponges, or fabrics are also suitable for stenciling. All of these applicators give a different finish and texture.
Miscellaneous
Other small things that will help with stenciling include cloth or a paper towel to wipe off excess paint from the brush or sponge. Plus, a paper plate for keeping and prepping the paint.

Step-By-Step Stenciling Tutorial
First, gather the supplies and choose a stencil and the surface for painting. Now, follow these steps to achieve immaculate results:
-
Clean The Surface
Cleaning and prepping the surface are essential for all kinds of art. Any dust or uneven edges won’t give an excellent outcome. So, it is better to use a piece of clean cloth to swipe across the paper and give it a quick close look to find any imperfections.
-
Stick The Stencil
Use a low-tack tape to hold the stencil in position by sticking it on all four edges. Alternatively, a spray mount adhesive on the reverse side of the stencil also keeps it steady. Plus, the spray is better at keeping the pattern in place. In comparison, the stencil pieces making up the design will stick to the brush and move with it with tape just on the sides. Use a stick or the eraser tip of a pencil to stabilize them.
-
Start Dabbing
After securing the stencil in place, take your brush (or any applicator), and dip it in the paint. Again, the paint should not be thin to avoid bleeds.
Lightly wipe the brush with a paper towel or a rag to unload all excess. Stenciling needs an almost dry brush. Now, while keeping the brush perpendicular to the paper, start dabbing. Take more paint only when there is no more left on the brush.
Pay attention to the edges, tight spots, or holes, so no area remains untouched. Build color by painting in layers to achieve the desired coverage.
-
The Big Reveal
After finishing, peel off the stencil slowly to reveal the outcome. Don’t wait for the paint to dry completely, as thick dry paint can crack at the edges.
Now, let the painting dry completely before giving any finishing touches.
How To Store Stencils
Most reusable stencils are plastic. Wash them with soap and lukewarm water and gently scrub with a soft brush to clean any paint residue. Hang them on a clothesline with a peg or paperclip to dry.
Store the stencils in separate ziplock bags and organize them in a ring folder.
Stenciling Is Satisfying!
Apart from looking pretty, stenciling is helpful for many things. It is a shortcut to achieving perfect results every time, even without many skills. Plus, just like adult coloring books, stenciling can boost self-esteem and ease anxiety.
And the best part is: it is so satisfying. So, with the proper technique, just paint the stress away!
